Showing posts with label Technique Tuesday. Show all posts

Monday, January 24, 2011

Lining An Envelope

Have you ever lined an envelope? It is really, really easy to do, and it adds such a pop of style to your handmade cards.

To line an envelope, pick a piece of patterned paper or cardstock that will coordinate with your card. Measure the outside of the envelope, both width and height, measuring up to the adhesive strip. Cut your cardstock somewhere between 1/16th and 1/8th of an inch less than both of those measurements.


For example, my A2 envelope was 5 3/4 x 6 1/8, so I cut the cardstock to 5 11/16 x 6 inches. Slide the paper or cardstock into the envelope, keeping the printed side showing. From here, you can either turn the envelope over, trim the excess off the cardstock along the angle of the envelope, or you can trace the angle, remove the cardstock, cut it, and slide it back in.

Fold the paper or cardstock at the top of the envelope and crease. Add adhesive to the sides and top of the paper, and stick it to the envelope.


The results are fantastic! Look how cute!


This pink card and envelope were probably based on something I saw a while ago, but just don't remember. (I want to give props where deserved...) Anyway, the color scheme is certainly my style, isn't it?
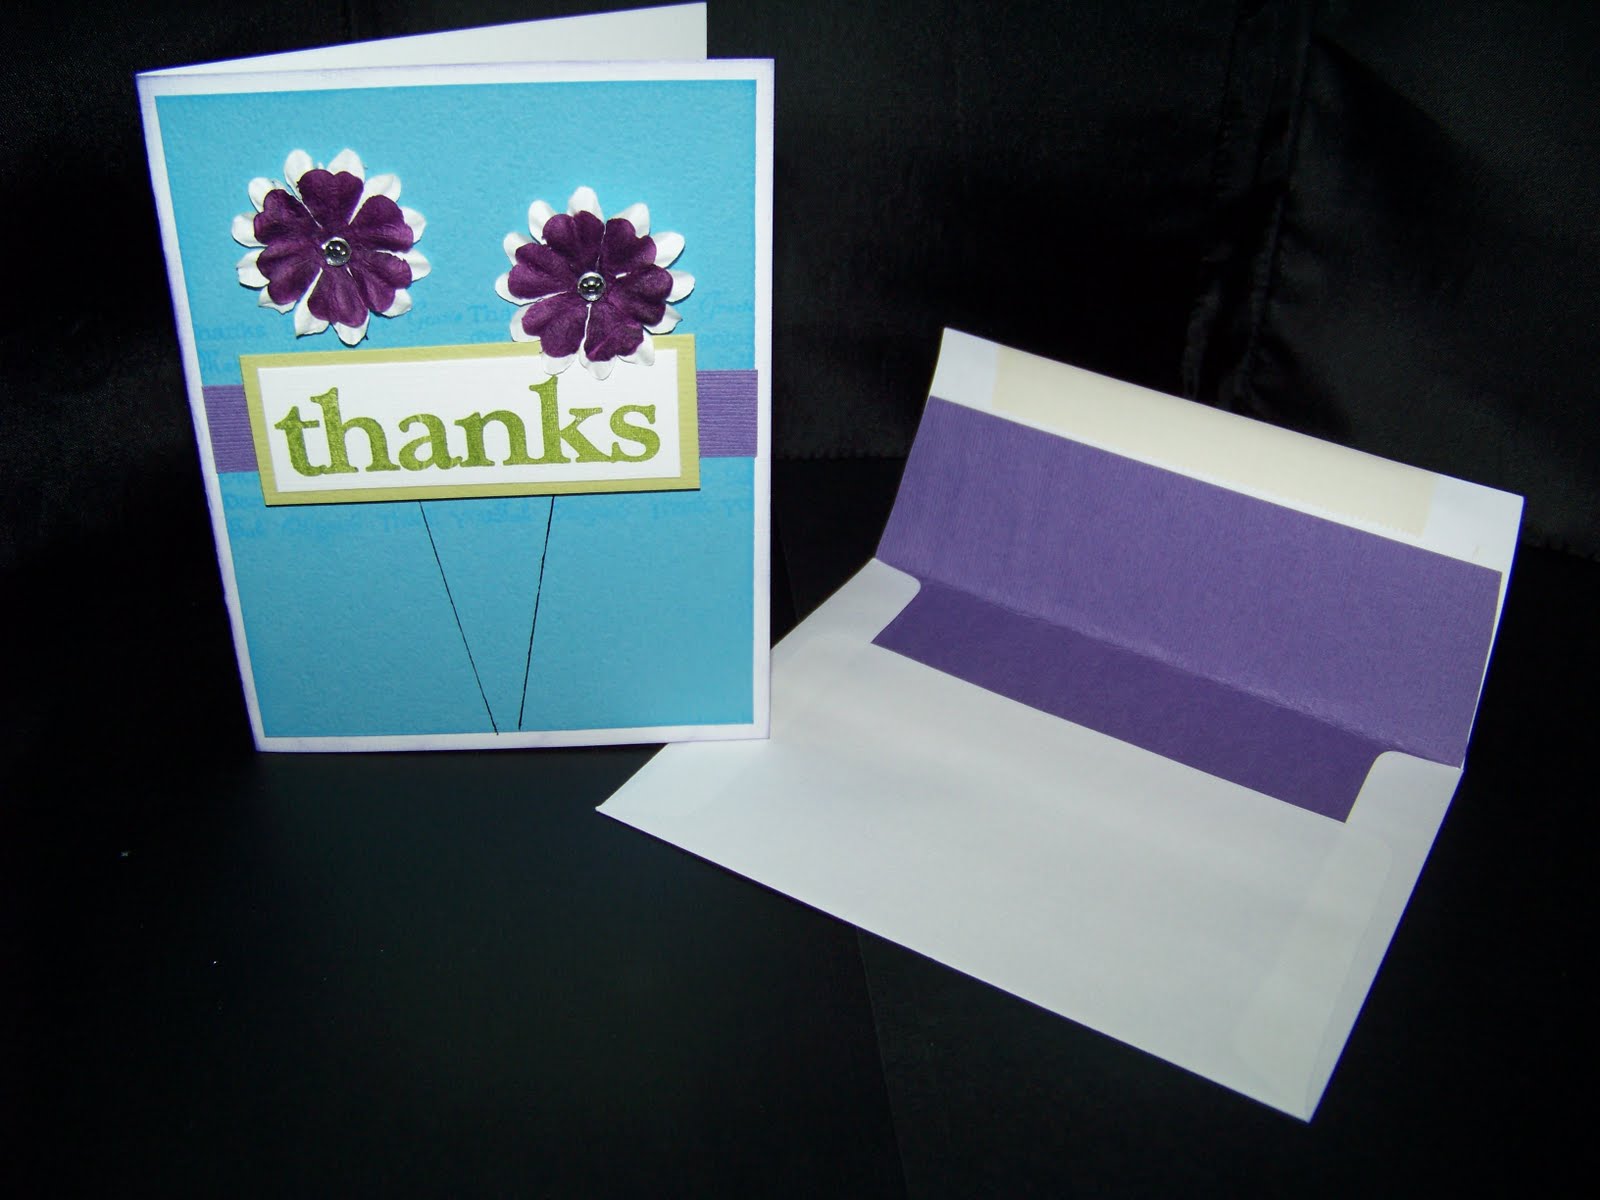


This card I know where I scraplifted it from: Technique Tuesday's idea book. They did theirs with different colors and the flowers were stamped images, but the concept and layout are the same. I'll save this card for someone who really, really deserves a big thanks! :)

What other cute ideas have you always wondered how to do?

Thursday, January 13, 2011

A technique using Technique Tuesday!

There comes a time in every scrapbooker's life where she realizes...she actually doesn't have it all. You know, you're looking for that perfect embellishment, the final doo-dad, the background paper to beat all background papers...and it's simply not there. We might spend a moment cursing our stash, or perhaps the manufacturers for not making something so "obviously" needed, but our time would probably be better spent making what we need! After all, we're crafty, right? Craft it then! For today's project, I did just that. I stamped my own patterned paper. First, a look at the completed layout:

This was a page I did showing two of the cutest people I know (tee-hee!) all dressed up for their friends' son's wedding. I had the perfect shade of turquoise blue cardstock, (Bazzill's Yosemite for those of you wondering...) but all my patterned papers were too busy, too yellowy, too colorful, or just plain wrong! I decided to take out my all-time favorite Technique Tuesday stamp set, Fanfare, and stamp my own patterned paper!

I had four strips, (approx 2x8) that I wanted to make up the background. I used Quick Quotes' Blue Hawaiian ink, which also matched perfectly, and stamped each strip using a different fanfare swirl.

When they were all laid out side by side, they looked fluid, as though they were meant to go together! I thought it was a great way to add a little pattern and a touch of color.

The extra-nice thing about Technique Tuesday's stamps is that they are very well made, and therefore ridiculously easy to get a great stamped image. You'll notice no smudges, shadows, background blotches, or missed images. It's not because I'm a professional grade stamper, it's just that the stamps are that good. If you look at your clear (or rubber) stamps, you can quickly tell if it's quality or not. If the stamp is cut deeply, you have less of a chance of accidentally inking the area around the image you wish to stamp. If the image is cut close to the edge, you are also less likely to get ink where you don't want it.

So, the next time you are lamenting that you don't have what you need, take a look at your stamp collection and see if there isn't something that they could do for you! Don't be afraid to mix stamping with scrapbooking. They make the perfect pair.