To line an envelope, pick a piece of patterned paper or cardstock that will coordinate with your card. Measure the outside of the envelope, both width and height, measuring up to the adhesive strip. Cut your cardstock somewhere between 1/16th and 1/8th of an inch less than both of those measurements.

For example, my A2 envelope was 5 3/4 x 6 1/8, so I cut the cardstock to 5 11/16 x 6 inches. Slide the paper or cardstock into the envelope, keeping the printed side showing. From here, you can either turn the envelope over, trim the excess off the cardstock along the angle of the envelope, or you can trace the angle, remove the cardstock, cut it, and slide it back in.
Fold the paper or cardstock at the top of the envelope and crease. Add adhesive to the sides and top of the paper, and stick it to the envelope.

The results are fantastic! Look how cute!

This pink card and envelope were probably based on something I saw a while ago, but just don't remember. (I want to give props where deserved...) Anyway, the color scheme is certainly my style, isn't it?
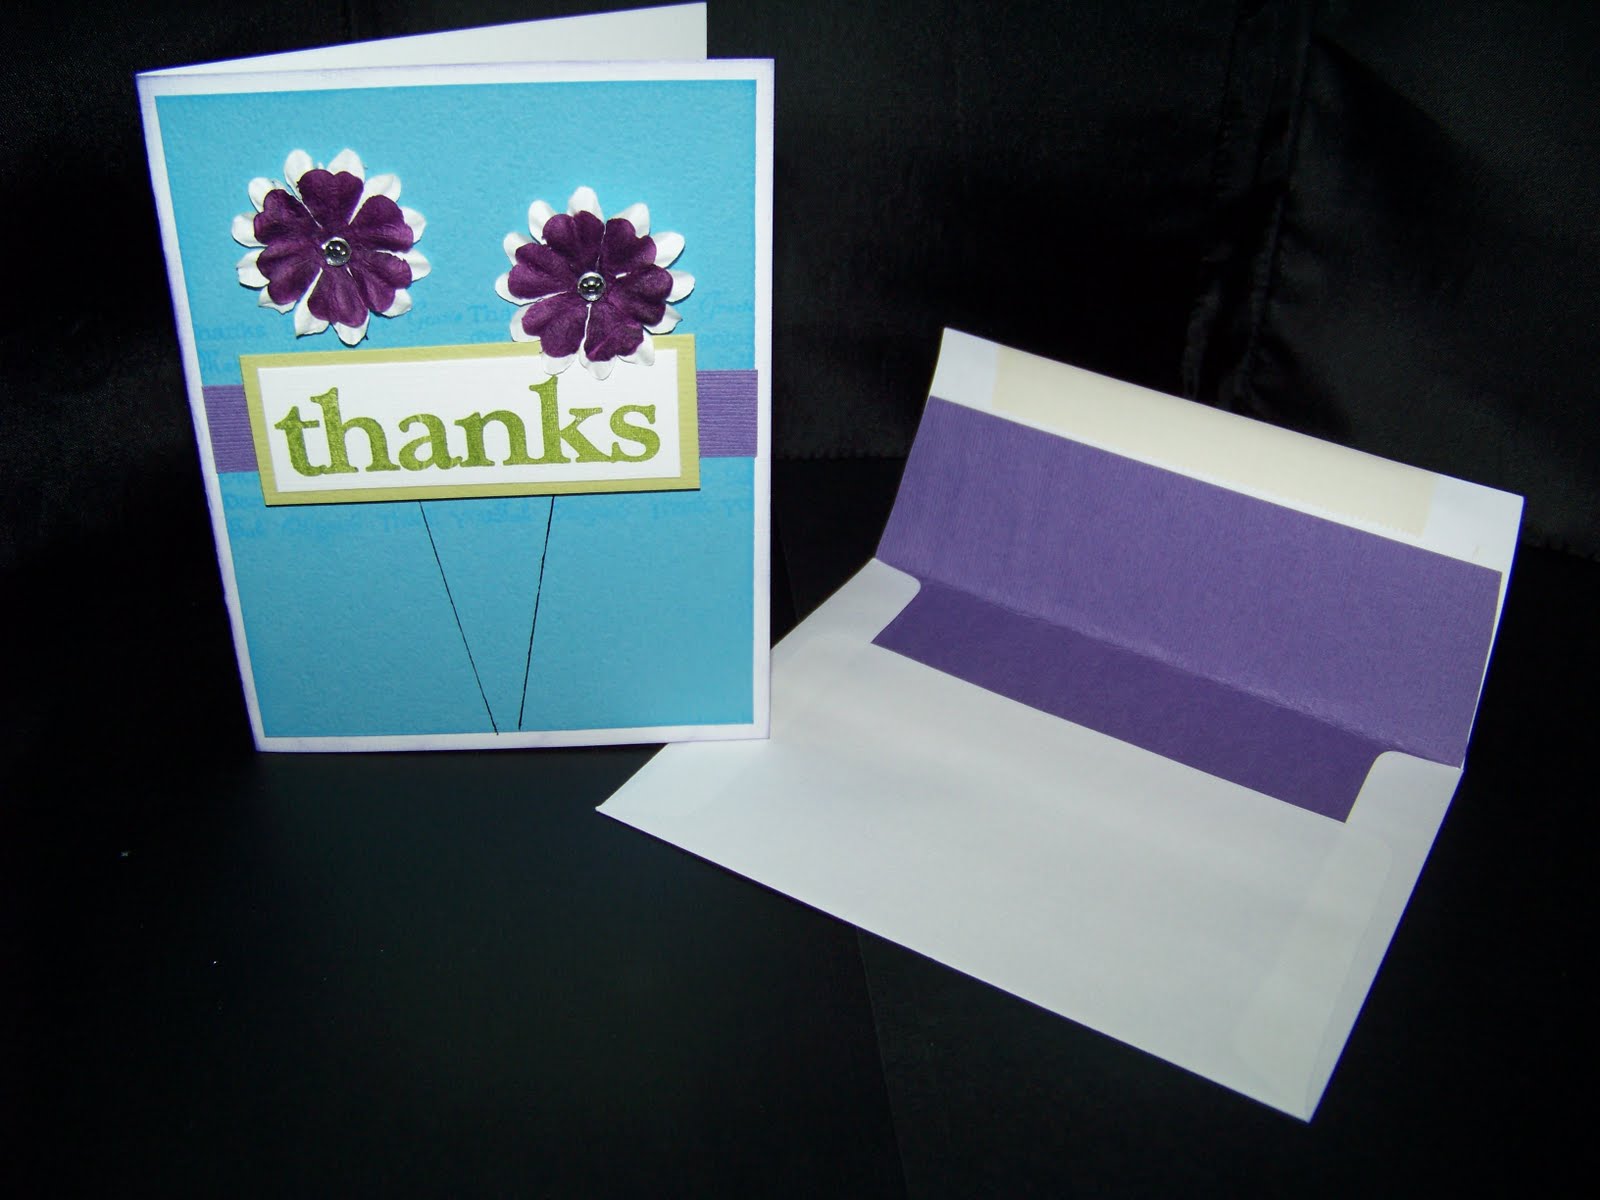
This card I know where I scraplifted it from: Technique Tuesday's idea book. They did theirs with different colors and the flowers were stamped images, but the concept and layout are the same. I'll save this card for someone who really, really deserves a big thanks! :)
What other cute ideas have you always wondered how to do?
Very pretty, Peggy; it's one of those little details that makes a special card even more so.
ReplyDeleteI love it! It really does dress up the envelope. I don't know why I never take the time to do this. I will try harder! Thanks for the tip.
ReplyDelete